 Read Aloud
The useful answer
Improve the source image before retrying recognition. Keep the page flat, the text sharp, and the lighting even. Then compare the recognized words with the original, especially names, numbers, and column boundaries.
The best correction can happen before recognition
When a scan produces strange words, it is tempting to run recognition again and hope for a different result. Sometimes that helps, but a blurred, shadowed, or distorted photo gives every attempt the same difficult evidence. Improving the photo can be a more useful next step.
Think of the image as the text recognizer’s entire view of the page. It cannot see the clear paper sitting beside your phone or infer a tiny character from your knowledge of the subject. If the relevant detail is missing from the image, the result has to be treated with caution.
This article is a practical capture routine for ordinary printed material. It does not promise a particular accuracy percentage, and it does not imply that any app can reliably interpret all handwriting, formulas, or complex layouts.
Start with a small representative sample
Choose one page that resembles the rest of the material. If a chapter has narrow columns and a curved inner margin, do not test only its large, simple title page. You want to learn whether the difficult parts are manageable before photographing everything.
Capture the sample, run your recognition workflow, and compare the result. If the same area repeatedly fails, adjust one thing at a time: lighting, distance, angle, or page position. That makes it easier to identify the improvement rather than guessing which of several changes mattered.
A short test can save a long retake. It also helps you decide whether scanning is worth doing at all. If the publisher has an accessible digital copy, obtaining that source may be a better use of time.
Give the letters enough space in the image
Fill the frame with the page or passage you need while keeping all relevant text inside the edges. A photo of an entire desk may look attractive but leave the letters too small to inspect. Conversely, framing too tightly can crop the last character of every line.
After taking the photo, zoom in on the smallest text you need recognized. Can you distinguish punctuation and the internal shapes of letters? If not, retake it before processing a batch. The useful test is readability in the actual photo, not how readable the physical page appears to your eyes.
For a two-page book spread, consider separate images of each page. That can give the text more room and reduce the difficulty of the central fold. It also makes each recognition result easier to compare with its source.
Keep the camera and page aligned
A steep angle can make one side of the page much smaller than the other. Curved lines near a book spine may compress or distort characters. Keep the camera roughly parallel to the area you want to recognize, and keep the page as flat as is practical without damaging it.
Watch the corners and the inner margin, not only the center. A sharp central paragraph does not guarantee that the words at the edge are usable. If the material is bound, a smaller capture area may work better than trying to force an entire spread into one image.
Some scanning tools can correct perspective, but do not assume that correction restores detail that was never captured. Inspect the corrected image as well as the recognized text. A straight-looking page can still contain blurred characters.
Use even light and look for glare
Move the page or the light source until the text is evenly illuminated. A phone or your hand can cast a shadow across the line you need. Glossy paper can reflect a bright patch that erases several characters even though the rest of the page looks clear.
If glare appears, change the angle of the light or your capture position rather than simply increasing brightness. Take a test photo and inspect the affected area. What looks like a faint reflection on the screen can become a blank region in the saved image.
Do not chase a perfectly styled photograph. The goal is legibility. A plain, evenly lit page with clear margins is better input than a dramatic image with shadows and shallow focus.
Reduce motion and check focus
Hold the phone steadily and give it time to focus on the text. If the photo is soft, recognize that as an image problem before judging the OCR tool. Small print is particularly unforgiving of blur that might be acceptable in an ordinary snapshot.
Look at letters with similar shapes and at punctuation. If an “e” looks like a blurred circle or a comma disappears into the paper texture, the result may be ambiguous. Retaking the photo is often safer than correcting a long passage full of guesses afterward.
For repeated pages, use a stable setup that you can maintain. You do not need elaborate equipment; consistency in distance, lighting, and page position is the useful principle. Check occasional captures so an unnoticed change does not affect the rest of the batch.
Separate layout problems from image quality
A very sharp image can still contain a complicated reading sequence. Two columns, a sidebar, and a caption may all be recognized, but the text can emerge in an order that makes no sense when spoken. More brightness will not solve a structural problem.
If the tool allows a suitable smaller input, work with one coherent region at a time. Otherwise, prepare a checked text copy in the intended order after recognition. Preserve the source and make sure you have not omitted a continuation across a column boundary.
For the broader diagnosis, see why PDF readers jump between columns. The same distinction applies to photos: identifying characters and arranging them meaningfully are related but separate jobs.
A practical book-page example
Suppose you want to hear two paragraphs from a textbook. The page bends near the spine, a diagram occupies the right side, and a caption sits below it. A full-spread photo makes the prose small and introduces a dark inner edge.
Try photographing just the relevant page with even lighting. If the two paragraphs are the only material you need, keep their complete boundaries visible. Check whether the recognized text flows from the end of the first paragraph into the start of the second without inserting the diagram labels.
Save the text as a clearly labeled excerpt, such as “Chapter 4 — explanation before Figure 2.” Keep the diagram available for a visual check. The listening copy can carry the prose while the original page carries the spatial explanation.
Review OCR with a deliberate order
First compare the overall structure: headings, paragraph sequence, and whether the beginning and ending are present. Then inspect unusual words, proper names, numbers, and punctuation. Finally, listen to a short sample while looking at the source.
This order avoids spending ten minutes correcting individual letters in a passage that was assembled in the wrong sequence. It also catches fluent-looking mistakes. A wrong date or a missing “not” can leave a sentence sounding natural while changing its meaning.
If you cannot resolve a word from the image, return to the physical page or request a clearer source. Do not make the listening copy look more certain than the evidence. A note identifying an unresolved word is better than an invisible guess.
Use the upcoming Read Aloud scan workflow
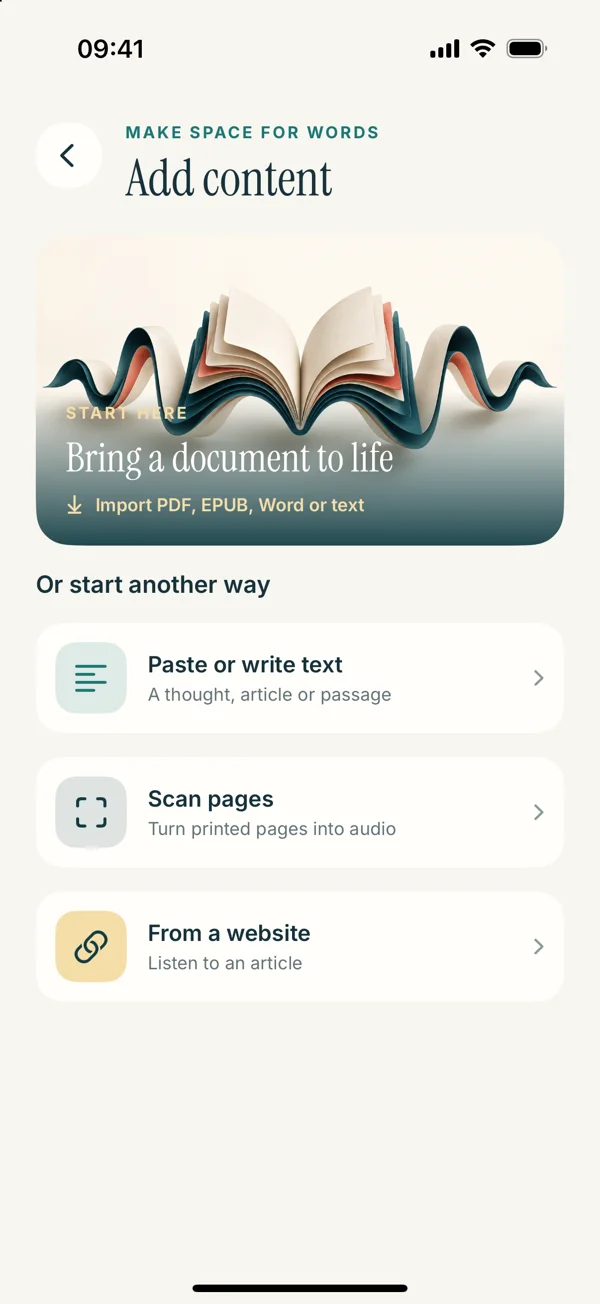
Read Aloud’s upcoming 1.0.3 release includes Scan pages and photo-based text recognition. Camera and recognition results vary with the device, language, page layout, and quality of the image. Use the scan-to-speech guide for the app route and its release boundary.
Once the words are correct, choose a voice that matches the language and begin at a comfortable pace. A clear voice is the final stage, not a substitute for checking the recognized text. If the source is already a selectable digital document, use its original text instead of photographing it.
For a small excerpt in an existing photo, Live Text may be another useful route. The right choice is the one that produces a readable, verifiable result for the specific page.
Label the capture before moving on
If you photograph several pages, keep their sequence clear while you work. Compare each extracted section with the matching image before combining notes from different pages. An accurate paragraph attached to the wrong page reference can still create confusion when you return to the source later.
Keep the process proportionate
You do not need to turn every page into a scanning project. Start with the material you actually want to hear, test one page, and stop when the result is reliable enough for your purpose. Some pages are better read visually because their meaning depends on layout or symbols.
A reusable checklist is simple: complete text in frame, sharp small characters, even light, manageable page shape, sensible reading order, and a comparison with the original. Those checks are more informative than counting how many times you pressed the recognize button.
When a photo is suitable and the text is verified, listening becomes the easy part. Explore Read Aloud and keep the current-release note in mind before looking for the upcoming scan interface.