 Read Aloud
The useful answer
For short onscreen text, start with iPad’s built-in speech controls. For documents and passages you want to keep, use Read Aloud’s library and playback tools, with the larger screen available for checking the source.
Use the larger screen to keep context
An iPad can be a useful place to combine listening with looking. You have room to inspect paragraphs, compare the spoken passage with a diagram, and return to a heading without treating the document as audio alone. The value is not simply a bigger play button; it is being able to keep the original context close.
Read Aloud is available for iPad as well as iPhone. The screenshots and detailed navigation on this site preview the upcoming 1.0.3 redesign. The current public release is 1.0.2, so the interface you download today may differ.
This guide does not assume automatic library sync between devices or a particular multitasking mode. It focuses on a workflow you can perform on the iPad itself: obtain a source, import it, check it, and listen.
Know the built-in starting point
iPad has its own system speech controls for selected text and onscreen reading. Apple’s current guide describes them in the Read & Speak accessibility settings. Use Apple’s iPad spoken-content instructions when you only need a quick passage read aloud.
For selected words, enable Speak Selection, select a passage, and tap Speak. For screen reading, enable Speak Screen and swipe down from the top with two fingers. These system gestures are separate from Read Aloud’s in-app play button.
A dedicated app becomes useful when you want to collect and revisit material. A library gives a saved article or document a recognizable place, while an in-app voice selector keeps the listening choices near the reading task. Neither approach needs to replace the other.
For example, you might use a system command to hear a short message, then use Read Aloud for a paper you plan to revisit over several sessions. Choose the smallest workflow that does the job.
Bring a document into the upcoming app
Start with an item already accessible in Files. If it comes from a cloud provider, confirm that it opens normally before importing. A file listing can be visible even when the underlying document still needs to download.
- Open Read Aloud and go to Add content.
- Select the document import option.
- Choose a compatible file in the native picker.
- Open the saved item in your library.
- Inspect a representative part before pressing play.
The upcoming interface provides several routes for different sources: file imports, pasted text, web links, and scan input. Do not take a screenshot of text you can import directly unless there is a reason; each extra conversion introduces another place for errors.
For a PDF, follow the PDF listening guide. Its file checks also apply on iPad. For a book, the EPUB guide explains the difference between an accessible ebook file and a protected store purchase.
Look at the redesigned iPad reader
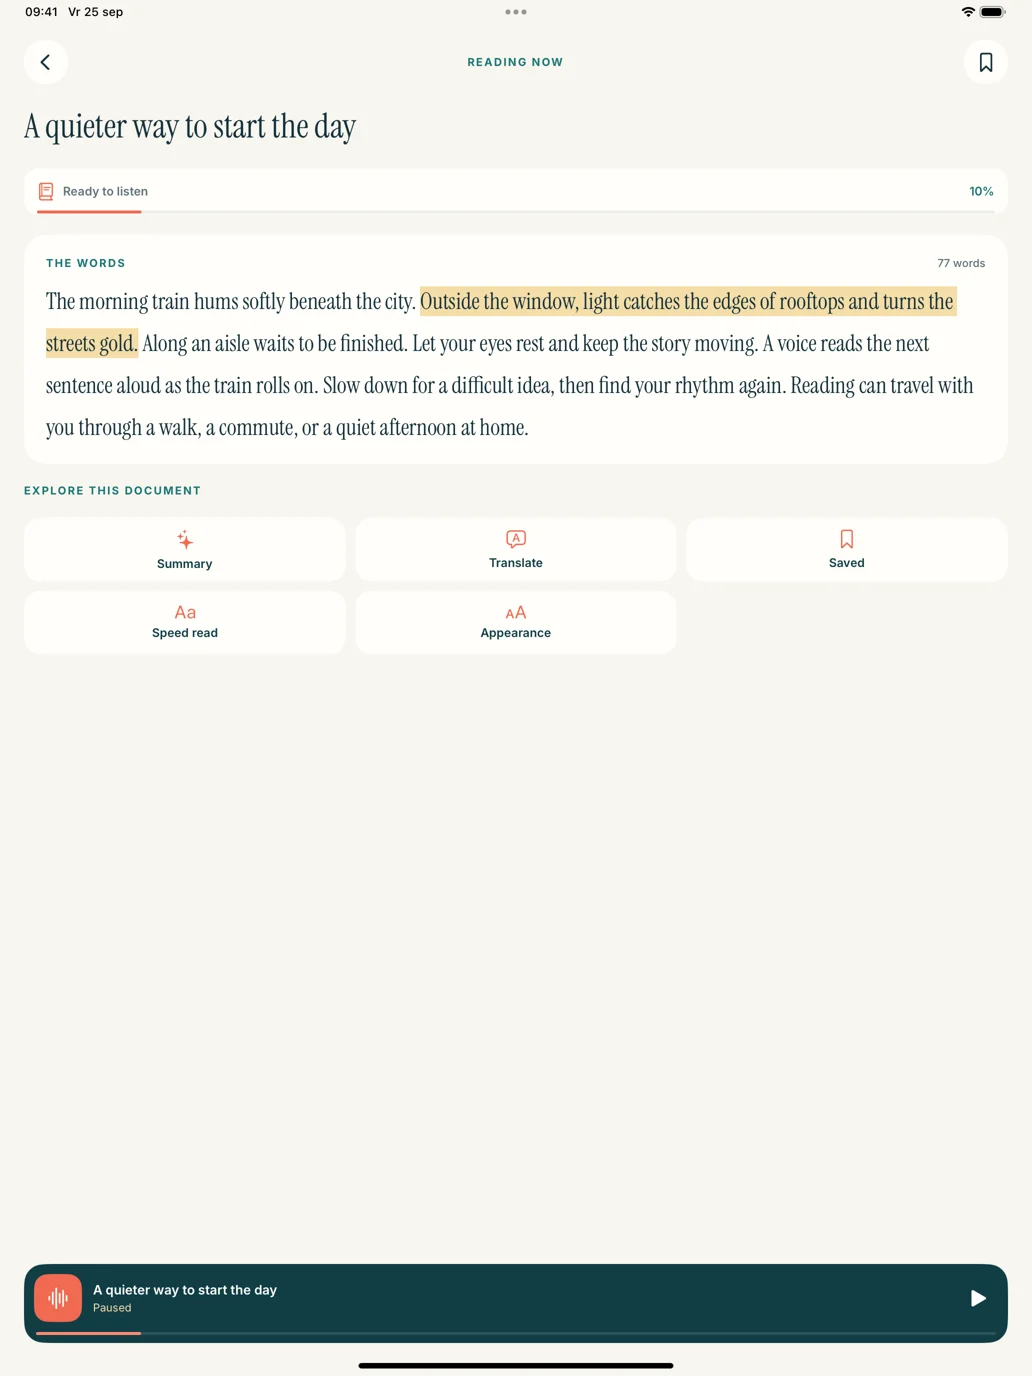
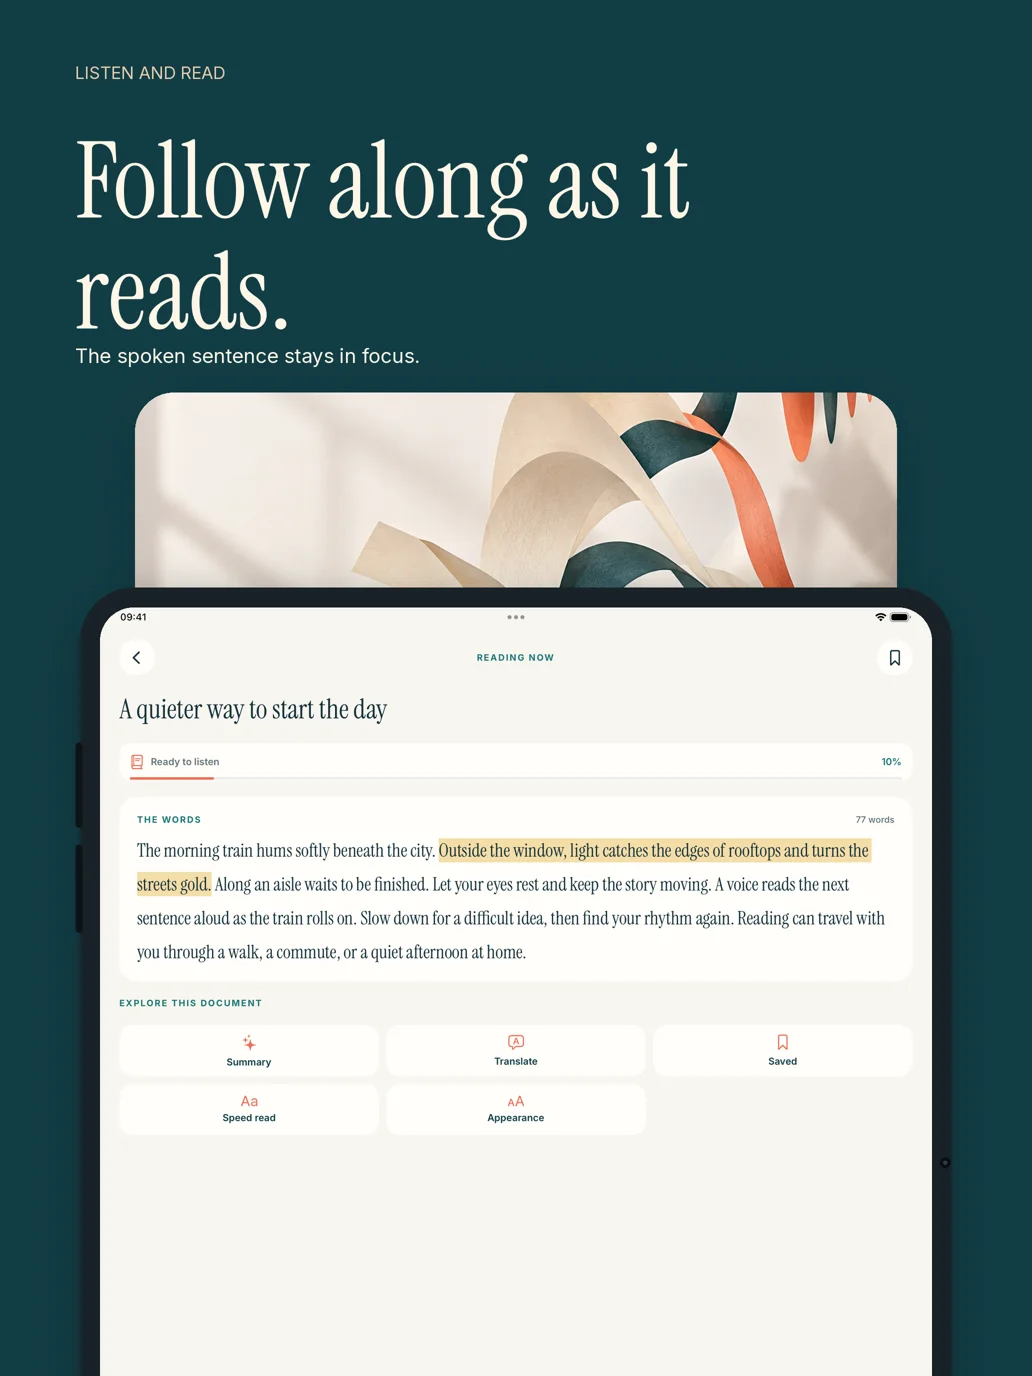
The upcoming iPad screenshot shows the actual tablet reading screen. Use the larger page to inspect the sentence in context, then return to the library when you want a different document. The layout shown is from the 1.0.3 preview; it is not a promise of cross-device synchronization.
Use pasted text for a focused session
For a short draft or a few paragraphs of notes, a text document can be simpler than a formatted file. Open Paste or write text, add the passage, and use a title that will still make sense a week later. A title like “Week 3 — photosynthesis review” tells you more than “New document.”
Review paragraph breaks before playing. A copied passage may contain hard breaks at the edge of every printed line. Keep meaningful boundaries between ideas while removing accidental breaks inside sentences in your own listening copy.
The new text reader brings the current sentence into focus. That is useful for following a passage visually while listening. It should not be confused with a guarantee of word-by-word tracking across every imported format.
Check material that needs visual explanation
An iPad is especially helpful when the source includes something you should inspect while listening. Pause at “as shown in Figure 2” and look at the figure. A chart’s caption is not a substitute for its axes, values, and relationships.
For mathematical or scientific material, spoken words may convey the surrounding explanation while symbols remain difficult to interpret. Keep the original document available and choose which parts are useful to hear. You do not need to make every element into continuous narration.
When the material is a slide deck, consider preparing a prose outline of the points you want to rehearse. See preparing presentation text for a concrete method that avoids treating a list of labels as a complete talk.
Set up the listening controls
Choose a voice that matches the language of the material, then play a familiar paragraph. Change the pace in small steps. The right setting is the one that leaves you able to follow the argument without repeatedly racing to catch up.
Read Aloud offers system voices and optional paid Plus voices. The available plans and access are shown in the app. Use the reading voice guide to compare choices while keeping the source and speed consistent.
If you cannot hear playback, check the device’s output destination and volume before changing the document. A paired headset or speaker may be the actual output. Our no-sound troubleshooting article starts with these simple checks.
Keep a clear return point
At the end of a session, remember why you stopped. A meaningful bookmark or a short note such as “return to the example after the heading” is more useful than a long list of saved locations with no purpose. The upcoming app includes saved-passage and bookmark workflows, but a small external note can also support your reading routine.
The bookmarking article explains how to choose return points that serve a question. Start with one document and one short listening session. Get Read Aloud for iPad, then check the current version for the features available today.